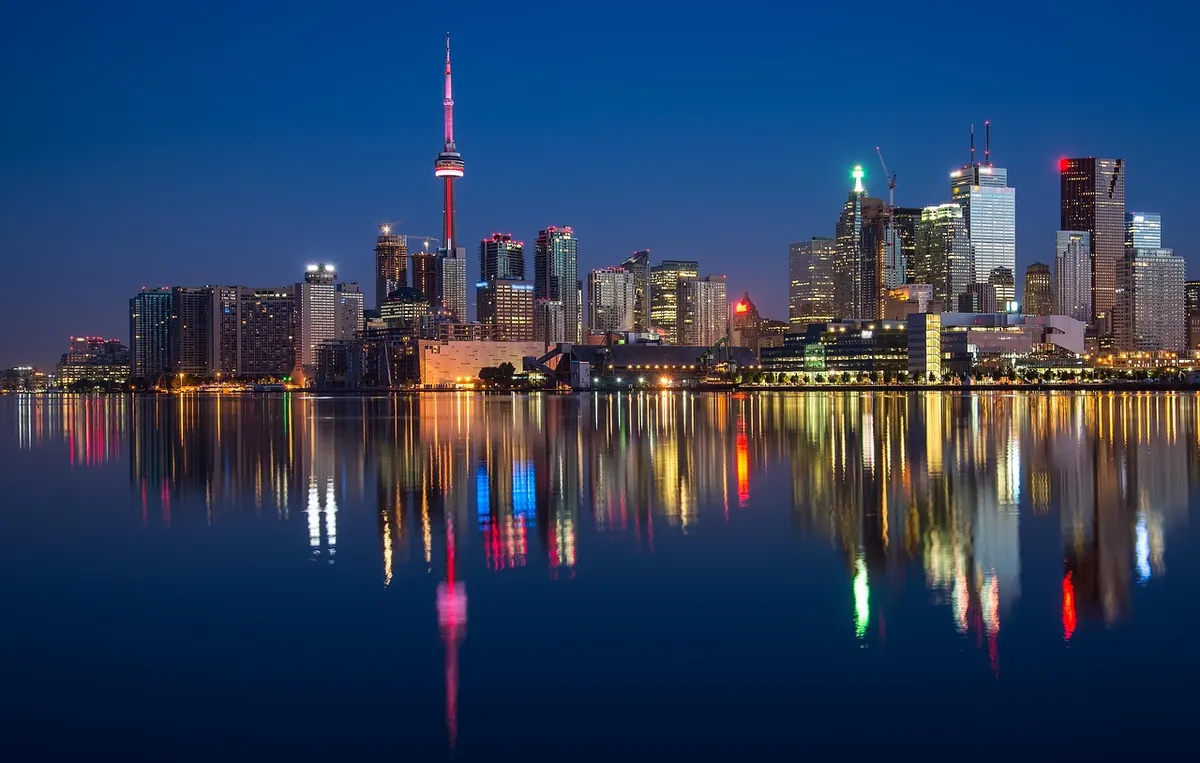
Blue hour is generous with a city and stingy with time. The sky turns a lit-from-behind blue, the street lamps come on and stop competing with it, and windows start to glow like small warm screens. It also lasts about as long as a short phone call. Miss it and you're standing on a corner taking a perfectly reasonable photograph of nothing.
You don't need a tripod to come home with the shot. You need a shutter speed your hands can hold, a brace borrowed from the street, and the discipline to let the sky stay brighter than the pavement. Everything below is what that looks like in practice, from the first ten minutes to the last usable frame.
Blue hour isn't one colour. It arrives in stages, and each stage asks for slightly different settings.
The bright blue. The sky is still luminous and the lamps are weak. Good for clean architecture, wide city views and reflections in wet streets. Exposures are comparatively easy: often 1/30 second at f/5.6 and ISO 400.
The core blue. This is the balance everyone means when they say blue hour. Sky and lamps hold equal weight, colour is at its richest, and shadows still have detail. Ten to fifteen minutes, usually, before it starts slipping.
The deep blue. The sky darkens towards navy, lamps dominate, shadow detail collapses. This is the moment for tighter frames, lit windows and light trails from traffic, but it's also the hardest to shoot handheld, because the light is falling faster than your ISO can follow.
How long each stage lasts depends on latitude and season. Near the equator the window closes quickly; in a northern winter, or a far-northern summer, it can stretch much longer. Check the civil twilight end time in any weather app and be on site twenty-five minutes before it. That single habit saves more blue-hour photographs than any piece of equipment.
Start from a known place and change one thing at a time. A reliable default goes like this:
If your camera lets you set a minimum shutter speed in aperture priority, use it: set 1/30 and let the ISO float. Otherwise work in manual and watch the meter. Turn on stabilisation too, and electronic first curtain shutter if it's offered — it removes a small but real source of vibration.
Stance matters more than gear at 1/15 second. Feet shoulder-width, elbows tucked into your ribs rather than flared, camera against your eyebrow if you have a viewfinder. Three contact points instead of two. Breathe out and hold. Roll your finger over the shutter release instead of stabbing at it.
Then try the strap trick: wrap the camera strap around your forearm, pull it taut and push the camera slightly away from you. It looks faintly ridiculous and it works. A two-second timer helps whenever the scene is static enough to predict.
After that, borrow structure from the street. Railings, window ledges, bollards, the top of a ticket machine, a café table, a low wall, your own knee. Fold a jacket under the camera if the surface is hard. Avoid anything that hums: idling buses, escalators, a footbridge with traffic running underneath. Vibration is the enemy you can't see in the frame until you get home.
Keep focal lengths moderate, roughly 24–35mm on full frame. A telephoto magnifies every tremor in your hands along with the subject.
The light moves faster than your decisions, so make most of them before it gets good.
Pick two compositions before the colour peaks, and don't move between them while it's at its best. Walking to a third spot is how most people lose the light.
Handheld blue hour is a negotiation between noise, motion and the sky. You cannot have all three, so decide which one you're willing to lose.
Expose for the sky and lift the shadows afterwards. Blue-hour shadows usually survive a stop or two of recovery; a blown sky does not. Grain is the cheapest of the three to accept. A little noise on a stone facade reads as texture, and few good photographs have ever been ruined by luminance noise. Motion on the subject is the one thing you can't fix.
If a scene genuinely wants a quarter of a second, shoot five frames and take the sharpest — one of them will be. And if there are people in front of you, don't fight the blur. At 1/8 second they soften into streaks of colour, which often describes a city better than a frozen crowd.
Set up at home, arrive early, and spend the good light shooting rather than fiddling with menus.
Bring a cloth for the lens and don't bother with the tripod. Blue hour rewards the person who turns up early, finds a wall to lean on and stands still for fifteen minutes.
Photo: jameswheeler / Pixabay